Showing posts with label DIY. Show all posts

Monday, April 19, 2021

DIY Half Pad Cover with Shims

Ever since I did my first 25mi CTR catch ride in a borrowed treeless saddle years ago, I instantly became a huge fan and immediately got one for my distance tack setup. From the start, I've been using a Supracor saddle pad along with it my treeless saddle with zero issues. In fact, I have always gotten perfect sweat marks and never a sore back on every horse I've used my treeless saddle + Supracor pad combo with. 

However I recently heard the pads weren't exactly ideal for treeless riding over time or longer distances (anything longer than 35mi/LD) due to gradual pad structural breakdown with repeated compression. To be honest, I haven't seen any issues occur after the hundreds of trail miles I put in but it felt prudent to maybe try and prevent possible issues from becoming bigger problems in the future.

I was definitely pretty gutted though since I love how easy the Supracor pad was to clean (just rinse and hang dry) and as a first-time mom with a 5mo boy, anything that can save me hours of scrubbing and cleaning is a huge win in my books. Determined to prolong the use of my pads, I started doing my research in all the endurance and trail riding groups and to my immense relief, a lot of seasoned riders provided a similar suggestion that had worked successfully for them- using a Skito Equalizer Half Pad under the saddle to provide extra spine clearance.

Unfortunately after doing some digging, the half pad was providing to be very elusive to find and it was no longer being made by the company. After getting some photos of the product, it definitely looked like something that I could try my hand making though! 

For materials, the only thing I really needed to buy was some canvas fabric. I had all the other materials on hand already from previous projects. 
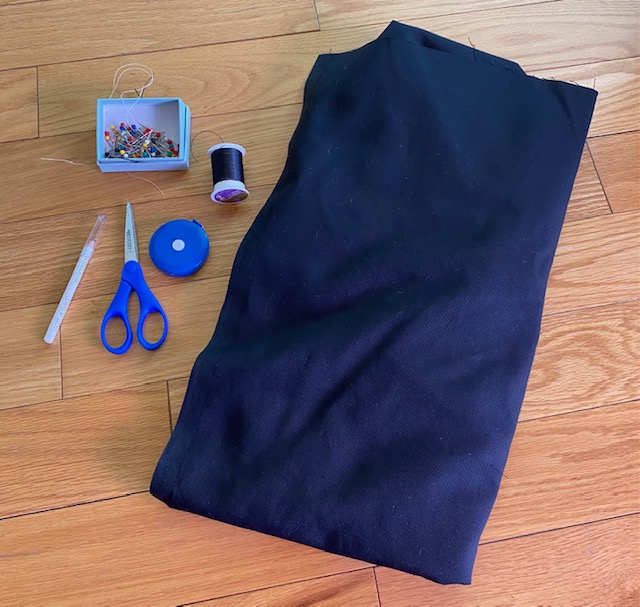
The materials I used for this project.
The only thing not pictured here is the Velcro

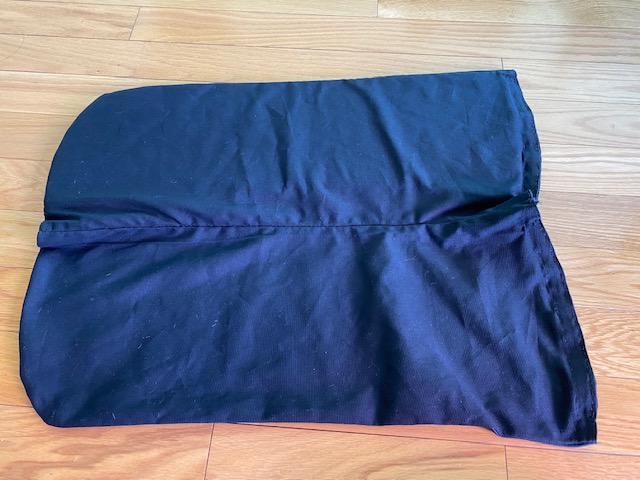
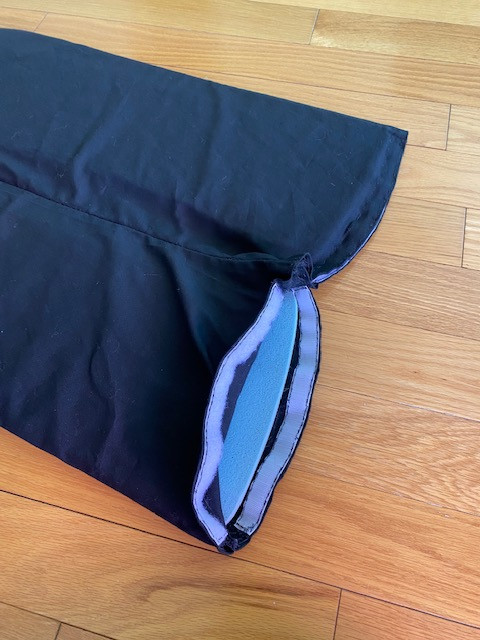
I created the cover pattern using a Skito shim I had and made sure to include a seam allowance and ample room on the side were the Velcro would be sewn in. I made four separate panels using the same template and sewed them all together edge to edge creating a "pocket" with an opening that would be sealed together by the Velcro. 
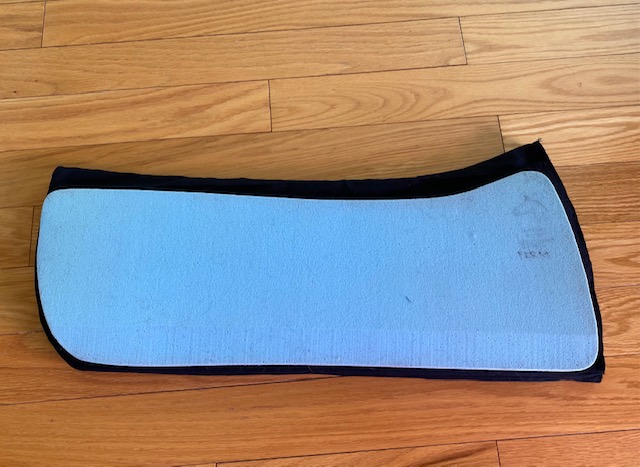

All four panels now sewn together

Shims inserted with sewn Velcro closures

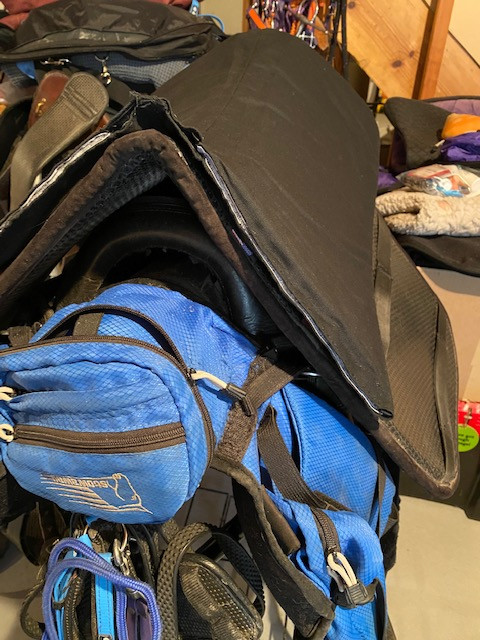
The final step was sewing the spine with the cover right side out to separate the two shim pockets and keep them from sliding from side to side. With that done, I checked the fit against my Supracor pad and it came out pretty nice! 
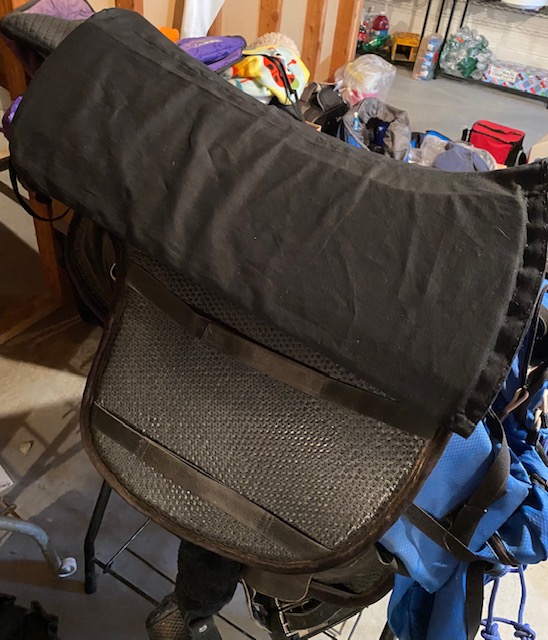


I'm planning to give the half pad a test ride with Quest the next time I'm out at the barn and will update with how things go. Hopefully everything works out and I can continue to enjoy using my Supracor pad for many more long distance miles.

Tuesday, April 21, 2015

Spring weekends

I think it's safe to say that spring is finally and really here.


I saddled up on Saturday and then rode bareback on Sunday. In addition to rides, our very close encounter with an ATV last week has inspired me redouble efforts to do spend more time doing basic desensitizing obstacles on the ground. We did a ton of groundwork stuff when I first bought the mareface last year but that fell to the wayside when trails and riding goals looked more "exciting". Not the right mindset to have! But it's really all too easy to get swept up with fun and neglect to review the basics.

Fortunately for us, Quest was supermare and didn't lose her mind completely despite how scary things got. There's always room for improvement though so my barn friends and I have been finding everyday items to fool around with at the barn. We're also making plans to build some obstacle courses so that should be something to look forward to.

The horses got round 2 of spring shots yesterday so I didn't plan on riding. I had rode Quest lightly a couple weeks ago after round 1 and she was cranky and sore. It wasn't fun for either of us so I have made a note to give her shot days off from riding to just do groundwork and lunge. It had been pouring rain all day yesterday meaning no turn out so when A and I got to the barn, both Smokey and Quest were ready to stretch their legs.

Random side note(s), I am pleased to report that my DIY paracord reins have been holding up great after riding with them exclusively for over a month so I'll be posting up a tutorial and review on that soon. I didn't want to tell people how to make them just to have them to break on first use...that would be pretty awful. I also have another DIY horse project in the works that I designed to craft and test out, so keep a weather eye!

Saturday, November 29, 2014

DIY Bareback Pad

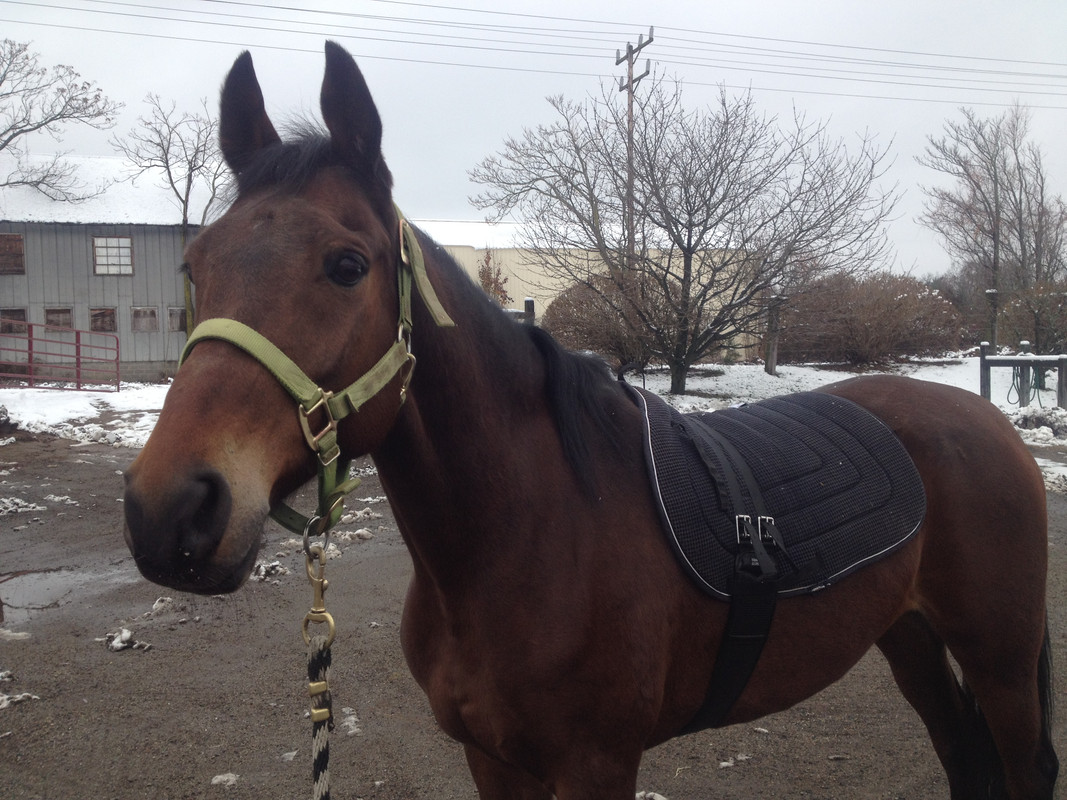
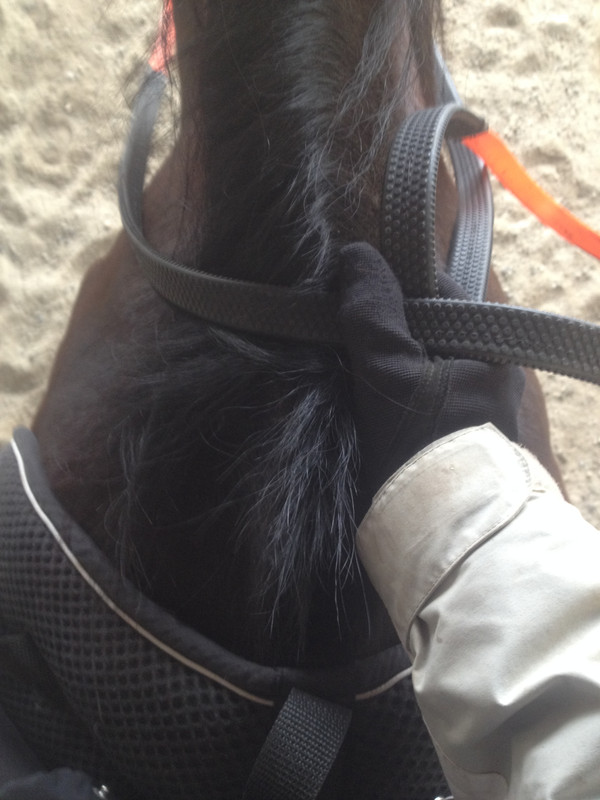
Once I figured out that Quest was fine with bareback pads, I started researching everywhere for the perfect one. I tested out T's pad last month with the intentions of purchasing it if it worked well after a test ride. While the pad functioned as intended, jerry-rigging the straps once was incredibly annoying to deal with (I don't want to imagine doing it again) and the pad itself was much too long for short-backed mare Quest. I could foresee a bad rub a coming.

Options on hand exhausted, I decided to go shopping. Good news was I found a ton of options, the bad news was I found too many options. I needed more time to shop but wanted something temporary to use...being the craft-sy person that I am, I decided to make my own. Convinced that I wasn't the first person to think of this idea, I scoured the interwebz for a tutorial and surprisingly I found NOTHING at all. Only thing I read was someone using stirrup leathers to strap a regular AP pad to a horse- it didn't seem comfortable nor safe. Not to be daunted, I came up with my own design!


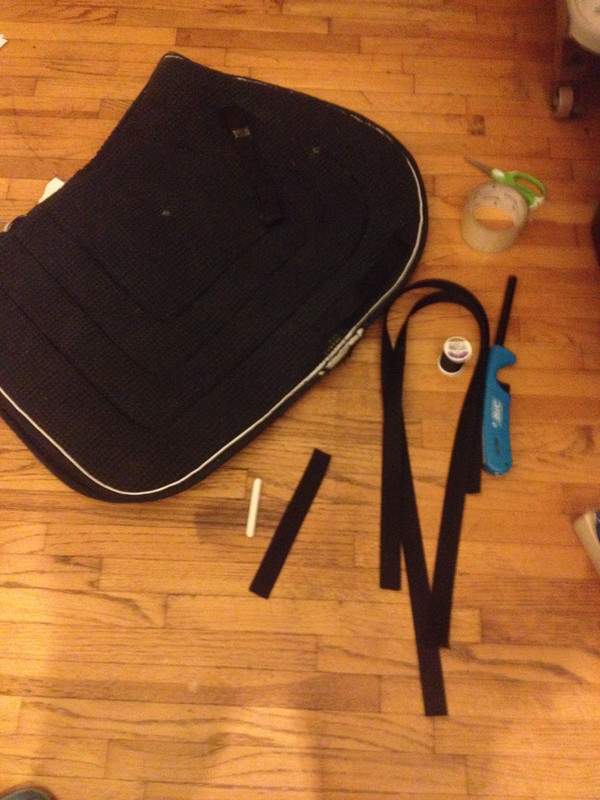
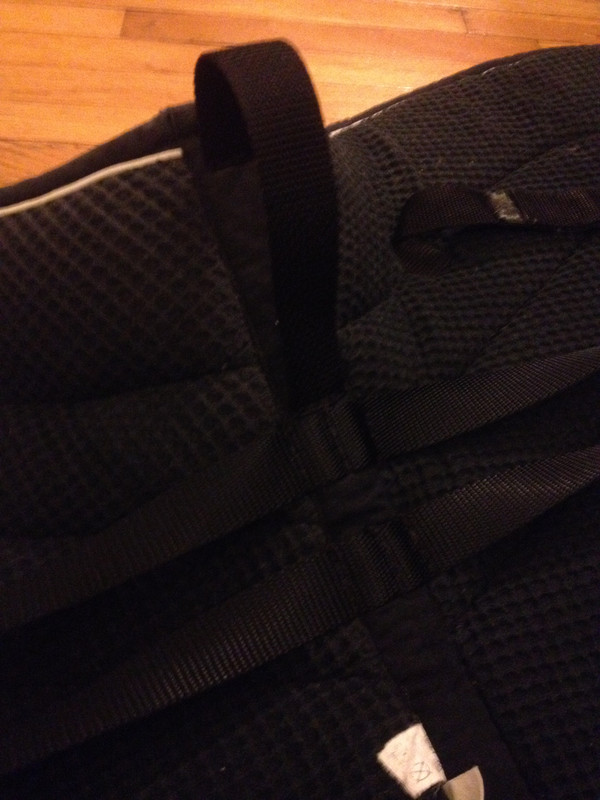
The materials for this are minimal. All you need is an AP English saddle pad (I picked the thickest one from my pad stash- it's thicker than the normal cotton pads and has a waffle cloth so it breathes better), nylon webbing (I used about 2 yards), needle, and thread (I suggest upholstery/nylon thread- it's the TOUGHEST stuff you can buy). I used chalk for making marks on the pad and webbing to know where to cut and make billet holes- it rubs out easily and doesn't stain materials. The lighter was used to burn the edges of cut webbing so it doesn't fray. I won't bore everyone to death with every minute detail but the construction is pretty simplistic once you have everything planned out and stay neat with your hand stitching. Yes, this was done by hand. I think the entire thing might too thick/cumbersome to fit through a sewing machine! I had some leftover nylon from a previous project that I was able to attach as a grab strap.


Most of the bareback pads sold nowadays use a cinch with latigo straps. I wanted to make billet straps that worked with the girth that I use on my saddle so I used two separate pieces of webbing. The holes in the nylon were punched with a stove-heated nail. I preemptively made some fleece covers to slip over the billet straps and buckles in case of rubbing but they turned out to be unnecessary and the pad was fine just as is.

I've got quite a bit of experience working with nylon webbing and sewing but this project is definitely within range of crafty beginners. Hopefully this inspires others to try and make their own bareback pads!