Tuesday, March 28, 2017

Ready, Set...

Moving forward slowly is better than no motion at all, right? With winter (hopefully) finally relinquishing its grasp on NJ, I've been steadily getting the trailer ready for hauling.


This was seriously an ordeal in it of itself. I double checked with the trailer's former owner S, who I still keep in contact with via FB and text, that I had everything I needed before I set off for the DMV/MVC. It's a 30-35 min one way drive so I really didn't want forget something and have to drive all the way back home for a piece of paperwork. 

I was flying out for vacation later in the afternoon but still took the whole day off so I'd have plenty of time to go register the trailer in the morning. I figured that since it was a week day, the lines in the office would be not as crazy and I could zip in, pay for the plates, and get to the barn with ample time for a quick ride with Quest before heading out to the airport. Well when I got to the DMV, the guy behind the counter said I was missing the seller's notarized form for a non-titled vehicle...despite having the official trailer title in hand?? Ugh. 

I texted S to fill her in on the situation. Fortunately for me/unfortunately for her, she had been called to do a random drug screening test for work and she was at a state dept office that had a in-house public notary. Once I got the address from S, I made my way over to her and soon got the form signed and notarized to register the trailer.

I also stopped by S's work place to pick up the mats that she had forgot to include when dropping off the trailer at the barn.


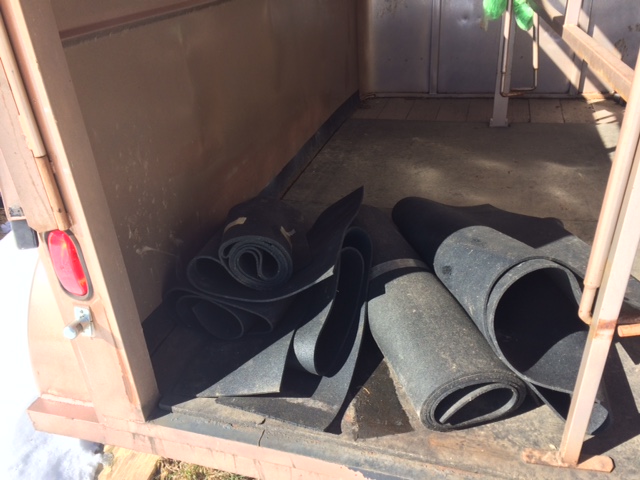
So now I have a bunch of ready-cut trailer mats that I need to figure out 1) how they were meant to fit together in the trailer, and 2) how to attach them to the walls. I really don't want to rivet/put holes in anything so I'm looking for an industrial strength adhesive. Tbh I could haul out without the mats on the walls? But I was thinking it'd be smart move to proactively protect my investment if possible. So if any fellow trailer owners have suggestions on how to tackle this, I'm all ears!

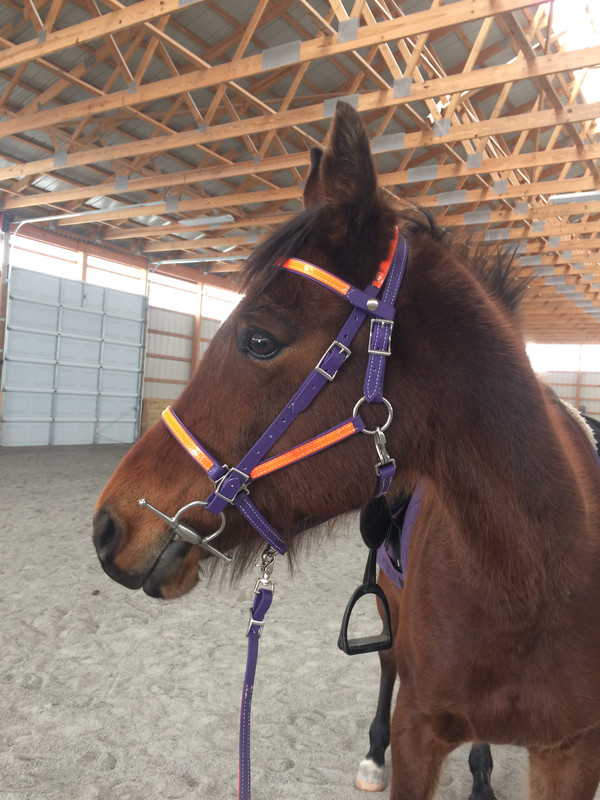
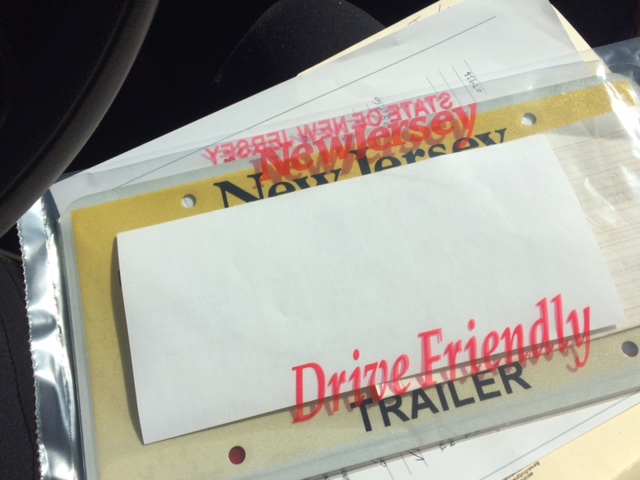
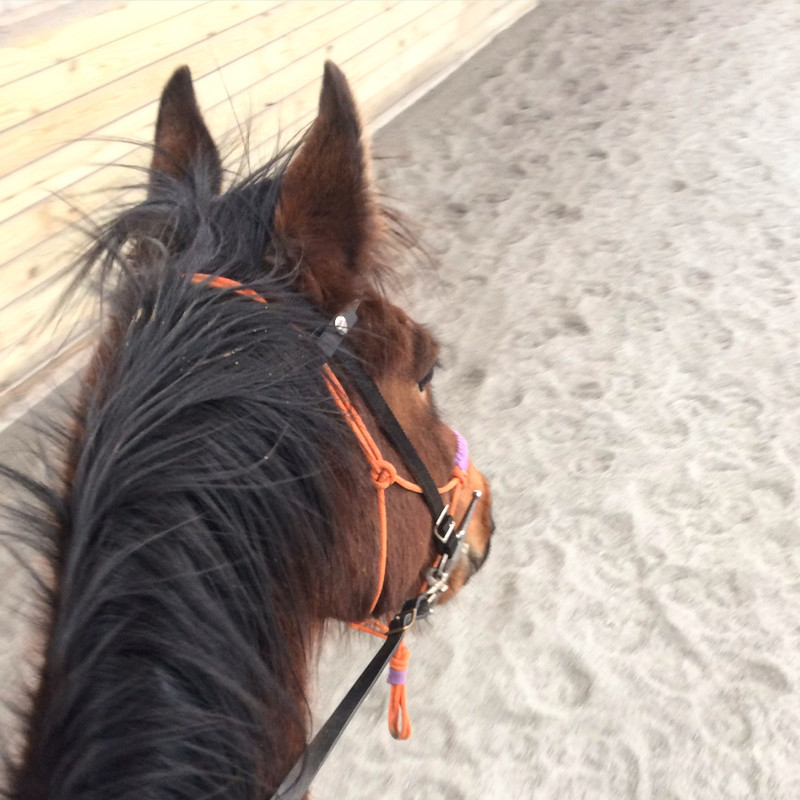
Anyways after attaching the new plates to the trailer and unloading all the mats from the car, I had barely enough time to groom and tack up the mareface for a super quick ride. We had a really nice w/t/c cardio session in the indoor and a leisurely wander walk outside.  


This past weekend was the start of the distance riding season for a lot of riders on the East Coast. With Quest officially done with rehab and staying 100% sound throughout the process, I have been optimistically thinking about legging her up for LD/CTR rides later this year in the fall. While I think mareface will probably be ready way before then due to all the long slow distance we had been doing for months during rehab, the slow start is intentionally giving me the time to practice driving a rig empty at first for the basic parking, backing up, etc.

Next will be hauling out for short local adventures to explore trails while scouting out places that will be good for training. Hopefully by the time the LD/CTRs roll around in the fall, I'll be more comfortable with doing longer (2-3hr) hauls on my own.  

As for training for the rides themselves, the first few events I've picked out are ones located in areas I've ridden myself so at least one tiny part of the unknown is addressed. While rehabbing, I rode Quest on a wide variety of surface conditions found at the barn, from pavement and arena sand to rolling grass hills and forest trails. While sand still scares the effin hell out of me, I have to remind myself that we had a huge footing disadvantage while at WSS a year ago because we only got to work on grass and gravel rail trails. In stark contrast, OF has a great sand arena which we have access to year-round and, after chatting with some FB distance riding folks, the footing is hugely reminiscent of the Pine Barrens. 

Another thing is silencing the ugly little voice inside my head that questions my ability to manage my horse properly. While I know a lot of people in the distance riding community, not all of them have time (or desire, as I found out indirectly) to share tips with a newbie. I've tried contacting AERC listed mentors but so far nothing  has come of it. Unsurprisingly and as with anything, I'll probably have to do my own research and develop my own training schedule. 

Anyways that's the game plan for now. I'm excited and a bit nervous to see what this year will bring. It's been a long difficult road making this endurance thing a reality but we're another tiny step closer to it. Hopefully having a trailer now will provide the freedom that I've always wanted and not just more stress! 

Monday, March 13, 2017

Product Review: Two Horse Tack Quick Change Halter Bridle

As a distance rider, I am no stranger to beta biothane and biothane tack. While I do own some leather products, I opt to use my synthetic tack 99.9% of the time no matter the occasion.

Like a few other horse bloggers, I was recently contacted by Two Horse Tack with an opportunity to write a compensated review on some of their beta biothane tack. Last year I won a raffle for a THT grooming halter that has been a life-saver during mud season so it was a no brainer to jump at a chance to check out what other products the company had to offer.

Since I currently ride in a rope halter with snap-on headstall combo, I decided to do a review on the Quick Change Halter Bridle with Snap On Browband. The majority of my riding is done out on the trails for hours at a time, so I'm all about functionality, efficiency, and comfort. The Quick Change Halter Bridle offers a lot of functionality since the halter and snap-on headstall can be used separately or together in a variety of configurations. The flexibility is good to have for the kind of riding I do and I like the fact it can be used with a separate rope halter if/when I need it.

Ordering & Arrival
When ordering, I admit there was some hesitation on my end when it came to sizing. The size category descriptions on the store website were not that useful and it doesn't help that Quest doesn't quite fit into any single category with her Saddlebred-head and dainty Arab-nose. However since Two Horse Tack's products are made-to-order, I opted to provide specific measurements when placing my order and kept my fingers crossed that the new set would fit with minimal adjustments.

Less than two weeks after placing the order, I had the final product in my hands. As a freelance artist, I can say from experience that is a VERY impressive turnaround time for a custom, made-to-order item.

10' trail reins, snap-on head stall, and halter
My initial impressions were very positive. I requested the set made in my endurance riding colors and the purple beta biothane with orange biothane overlay contrasted really nicely together. The overall construction felt solid, the stitching appeared tight, and there was a decent amount of punched holes for adjustments on both the headstall and halter pieces using the stainless steel hardware. Also I was pleased to see that the halter fastened on with a clip instead of a buckle (which faced outward, yes thank you). I'm not big fan of buckles in general because cold fingers + buckles during the winter = zero fun. I ride in almost every weather so this is the stuff I notice lol

The matching trail reins were a nice add-on and definitely completed the look. The 10ft length is standard for trail riding which works well with Quest's long neck (yay Saddlebred) and can handily double up as a lead line that clips to the halter when I want to hop off and walk on the trail.

Fitting & Test Ride
As the saying goes though, "pretty is as pretty does" so it was time to see how everything actually worked. I had planned to test the tack on the trail but it was absolutely frigid that day so the indoor arena it was for now.

As I had hoped, there were ZERO size adjustments to make on the halter or headstall. Literally all I had to do was attach the bit and we were ready to ride.

I was especially happy to see how sleek the set fit Quest without extraneous stuff and space all over. The beta biothane feels super durable yet it is supple enough to allow the bit to sit naturally on her face instead of pulling it stiffly (and probably uncomfortably) out to the sides. I had that issue with a biothane halter bridle with bit hangers from Running Bear and I sold that as soon as possible.


Unsurprisingly, the test ride was also complete nonevent. Quest went in it happily w/t/c as if it was just another arena session and had no complaints. I was pretty content as a rider too- the reins felt great in my hands and didn't cause any discomfort. I have eczema and depending on how abrasive the rein material is, my hands can get painful rashes. I typically deal with it by wearing riding gloves but it's not an ideal solution in hot, humid, or wet weather. The reins were thinner than what I'm used to but that did not detract from comfort or the fact that no gloves were needed.


***
Overall the Quick Change Halter Bridle with Snap-On Browband from Two Horse Tack is a great option for those who want to get as much use as possible out of a single piece of tack. The base price for this halter bridle style with the biothane overlay starts at $80 which is very reasonable for the quality you get. A set of matching reins are $20 extra and well worth it in my opinion. Also if you have any hesitation or worry about sizing when placing an order, I strongly suggest selecting the "Custom" option and including measurements; the tack will be made-to-order anyway and it's just one less thing to worry about.

I hope this review helps folks who are on the fence about trying synthetic tack and/or looking for companies to purchase from. As for me, I've been very impressed with Two Horse Tack so far and will be shopping with them for my future beta biothane tack needs.